
WEEK 1 | WEEK 2 | WEEK 3 | WEEK 4 | WEEK 5 + 6 | WEEK 7 | WEEK 8
HALFWAY!
Have we really hit halfway? This is all happening so fast 😉
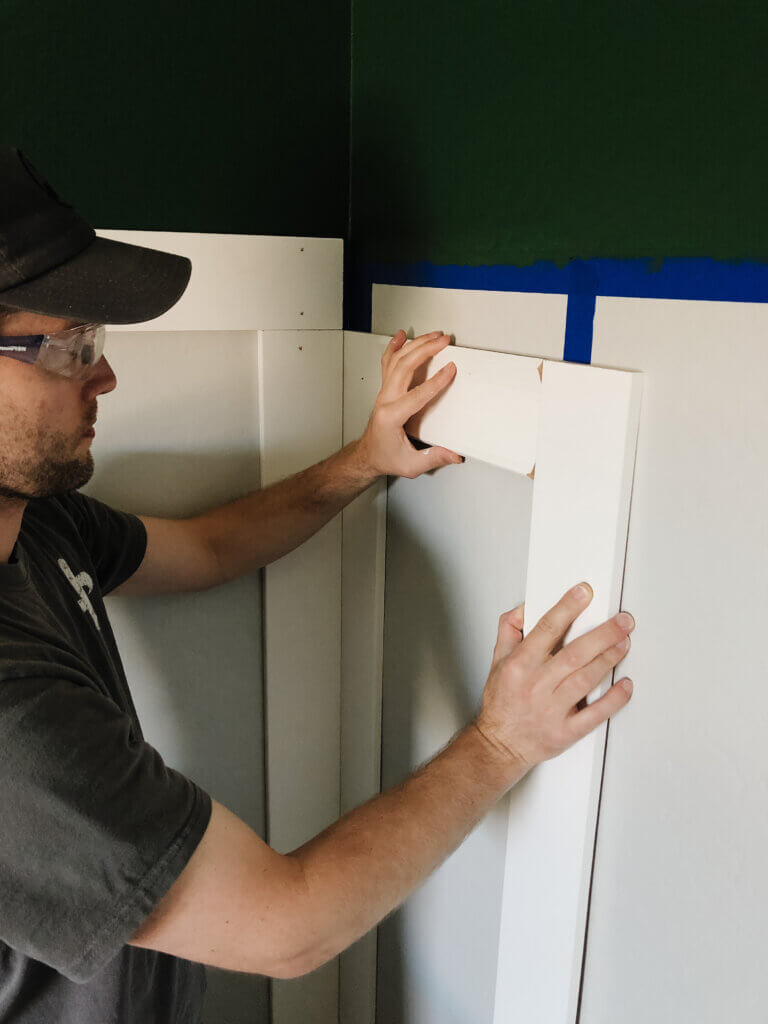
Morning y’all! I am feeling ultra productive this week as we got a big chunk completed and the room is starting to feel like it’s coming together. This weekend we tackled the board + batten and I just love it. Technically, I suppose it is just battens because we decided to leave the wall but you get the idea. Originally, board and batten is actually putting boards up over your walls and then attaching battens so ours is a faux/easier version.
3 things we learned along the way:
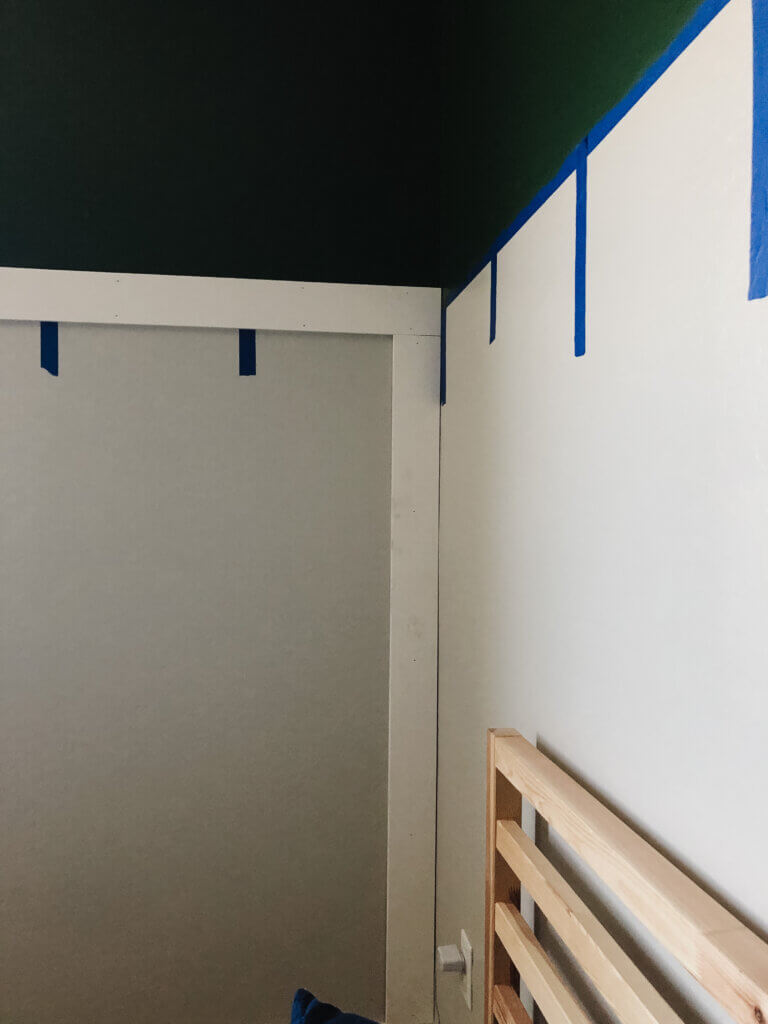
- I liked that we blue tapped the wall to get a visual of the spacing between the battens. I searched online everywhere to see if there was so formula or exact measurement of how far apart they should be spaced and never really found anything. We ended up just starting in a corner and seeing what spacing my eye was drawn to.
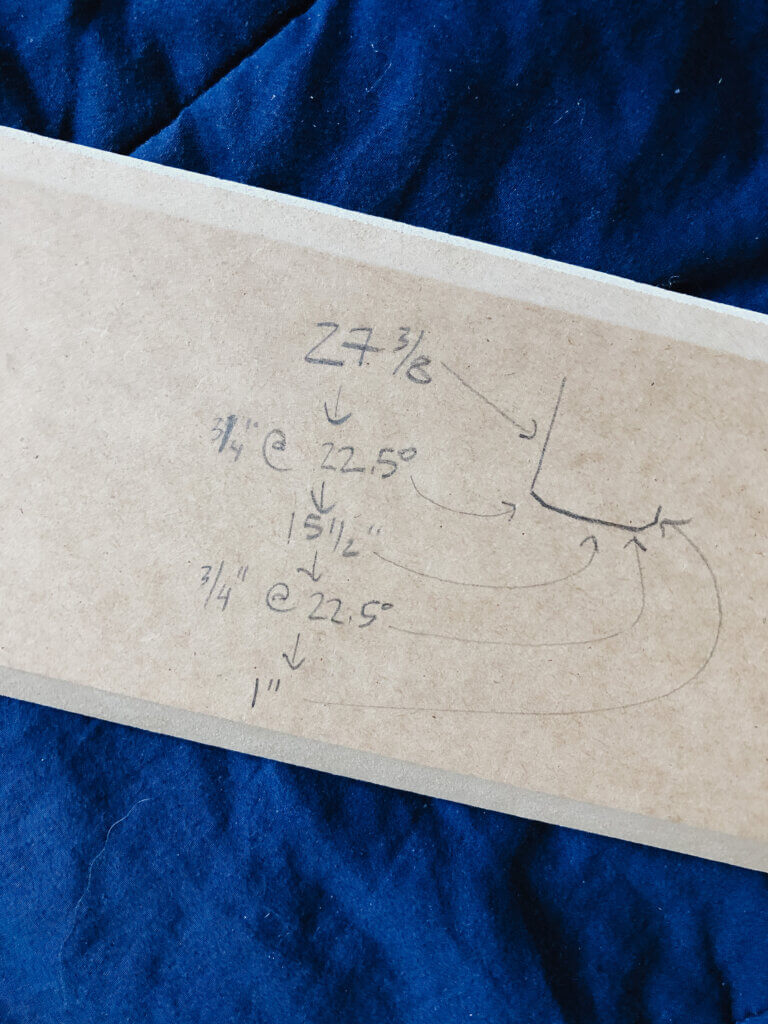
- THIS IS THE MOST IMPORTANT**** Sorry for the screaming but we laughed/kicked ourselves for not doing this first. Once you decide on the space – make a spacer! Grab some spare wood and cut it to the exact measurements you need between battens. Ours ended up being 11.7″ or some random number based on our wall and to measure that perfectly each time got tricky. Trust us, a spacer will make your life so much easier. Also, purchase a nail gun.
- Mr. Smith doesn’t seem to think this is a big deal but since I am the one painting, looking back I would have painted the bottom wall first, placed the battens and then repainted/touched up. He thinks it will be fine but only time will tell. We debated spraying the bottom section but I think the mess outweighs the speed this time around.
I know some people could probably knock out this entire project in a week or long weekend but with three tiny smiths and working parents, we knew we needed longer to make it right – plus if you follow me on instagram you know we never just take on one project at a time!
TO-DO LIST UPDATES
- -Take measurements and before photos – DONE!
- -Purchase board and batten – DONE!
- -Choose paint colors at Sherwin Williams online + test samples – DONE!
- -Get paint c/o Sherwin Williams – DONE!
- -Paint top 1/3 of room with two coats with color 1 – DONE! I will share exact color formulas in my reveal post
- -Paint bottom 2/3 of room with two coats with color 2 – plan for week 5
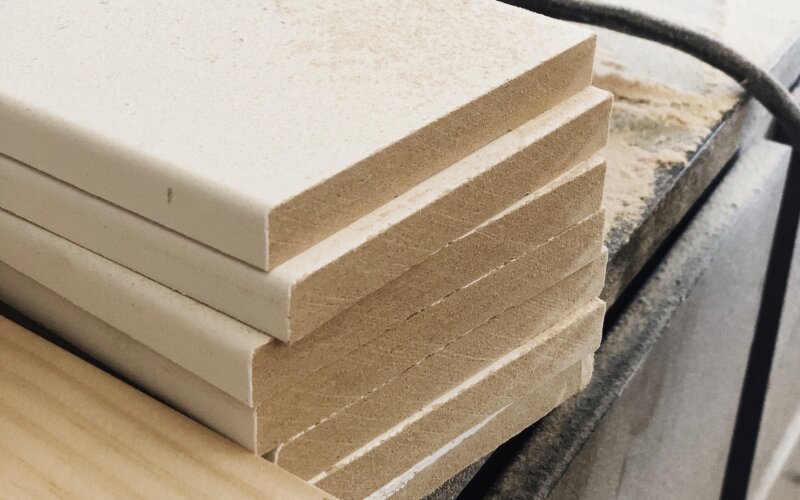
- -Cut boards – DONE!
- -Install board and batten – DONE!
- -Fill nail holes – DONE!
- -Calk seams – halfway done – plan for week 5
- -Finish framing window – plan for week 5
- -Touch up paint – plan for week 5
- -Make dresser (need to replan this item – I don’t think the original one will work)
- -Paint or stain dresser
- -Tear out existing closet shelving – plan for week 5
- -Wall paper or paint closet – plan for week 5
- -Build out new shelving system
- -Install ceiling fan – DONE!
- -Install bed lighting
- -Install roman shade c/o Select Blinds – DONE!
- -Add finishing details: rug, decor, map, books (artwork found via AndersonDesignGroup!!!)
- -Break down cost
- -Photograph room
- REVEAL JUNE 25
—
I have been sharing updates via my IG stories under the “ORC boys room” highlight!
I want to thank the amazing brands I am fortunate enough to be partnering with for the ORC:
Select Blinds
Sherwin Williams
Classy Closets
AndersonDesignGroup
—
There are some amazing featured designers here – I love the tile A Glass of Bovino chose for her bathroom remodel – and hundreds of guest participants you can take a look at on the ONE ROOM CHALLENGE BLOG.

WEEK 1 | WEEK 2 | WEEK 3 | WEEK 4 | WEEK 5 + 6 | WEEK 7 | WEEK 8
One thought on “ONE ROOM CHALLENGE WEEK 4: THE FIRST THING YOU SHOULD KNOW ABOUT BOARD + BATTEN”
Comments are closed.